Last updated on October 2, 2023
Painting a room can be an exciting and transformative project, but when it comes to rooms with closets and windows, things can get a little more complicated. Whether you’re looking to freshen up the space with a new color or completely change the atmosphere, painting around these fixtures requires careful planning and attention to detail. Visit for more details From selecting the right techniques and tools to avoiding common mistakes, this guide will provide you with all the essential tips and tricks you need to successfully paint a room with a closet and window in no time. So grab your paintbrushes and let’s dive into this colorful journey!
Preparing The Room:
Preparing the room for a fresh coat of paint is an essential step that can make a significant difference in the final result.
- The first task is to clear out all furniture and belongings from the space, ensuring that nothing obstructs your painting process. Taking this time to declutter not only allows for easier maneuverability but also provides an opportunity to evaluate if there are any items that may need repairing or replacing. Additionally, removing everything from the room allows you to thoroughly clean all surfaces, eliminating any dust or dirt that could hinder the paint’s adhesion.
- Once the room is cleared, it’s time to roll up those sleeves and give it a deep cleaning. Start by wiping down walls and baseboards with soap and water or a mild detergent solution. Pay special attention to areas prone to collecting dust or grime, such as corners and behind furniture. If there are any noticeable stains on surfaces, use a gentle cleanser specific for those materials. Don’t forget about windowsills, light fixtures, and ceiling fans – these often overlooked areas can accumulate layers of dust over time which will affect how the paint adheres later on.
Taking the extra time to clear and clean your soon-to-be-painted room sets up a solid foundation for your painting project. It ensures smoother brush strokes or roller applications while also creating a healthier environment by removing allergens or pollutants trapped in corners long forgotten. Treat this preparation stage with care and attention – your beautiful new painted room will thank you later!
Removing Hardware And Covering Furniture
- Removing hardware and covering furniture is an essential step when painting a room. It may seem tedious, but taking the time to properly prepare can make all the difference in achieving a professional-looking finish. Start by unscrewing any hardware such as doorknobs, drawer pulls, and light switch covers. Place them in labeled plastic bags or containers so they don’t get lost during the painting process.
- Next, cover any furniture or fixtures that you can’t remove from the room. Use plastic drop cloths or old bedsheets to protect surfaces from paint splatter. Make sure to secure them tightly with painter’s tape so they don’t shift while you’re working. Covering your furniture not only keeps them safe from accidental spills but also prevents dust and debris from settling onto freshly painted surfaces.
Priming The Walls And Patching Any Imperfections
Priming the walls before painting is a crucial step in achieving a smooth and professional-looking finish. Not only does it help the paint adhere better to the surface, but it also acts as a barrier, preventing any stains or discolorations from bleeding through. Before priming, make sure to thoroughly clean and prep the walls by removing any dirt, grease, or loose paint. Once that’s done, use a high-quality primer specifically designed for the type of surface you’re working with – whether it’s drywall, plaster, or previously painted walls.
In addition to priming the walls, patching any imperfections is another essential task when preparing for painting. Small cracks and holes can easily detract from an otherwise flawless result. Start by carefully inspecting the surfaces for any visible dents, nicks, or blemishes that need attention. Use a lightweight spackle or putty knife to fill in these imperfections with compound filler or spackle paste. Make sure to feather out the edges of the repair area so that it seamlessly blends into the rest of the wall once painted over.
Painting The Walls:
When it comes to painting the walls, there are a few techniques and tips that can help make the process easier and ensure a professional-looking finish.
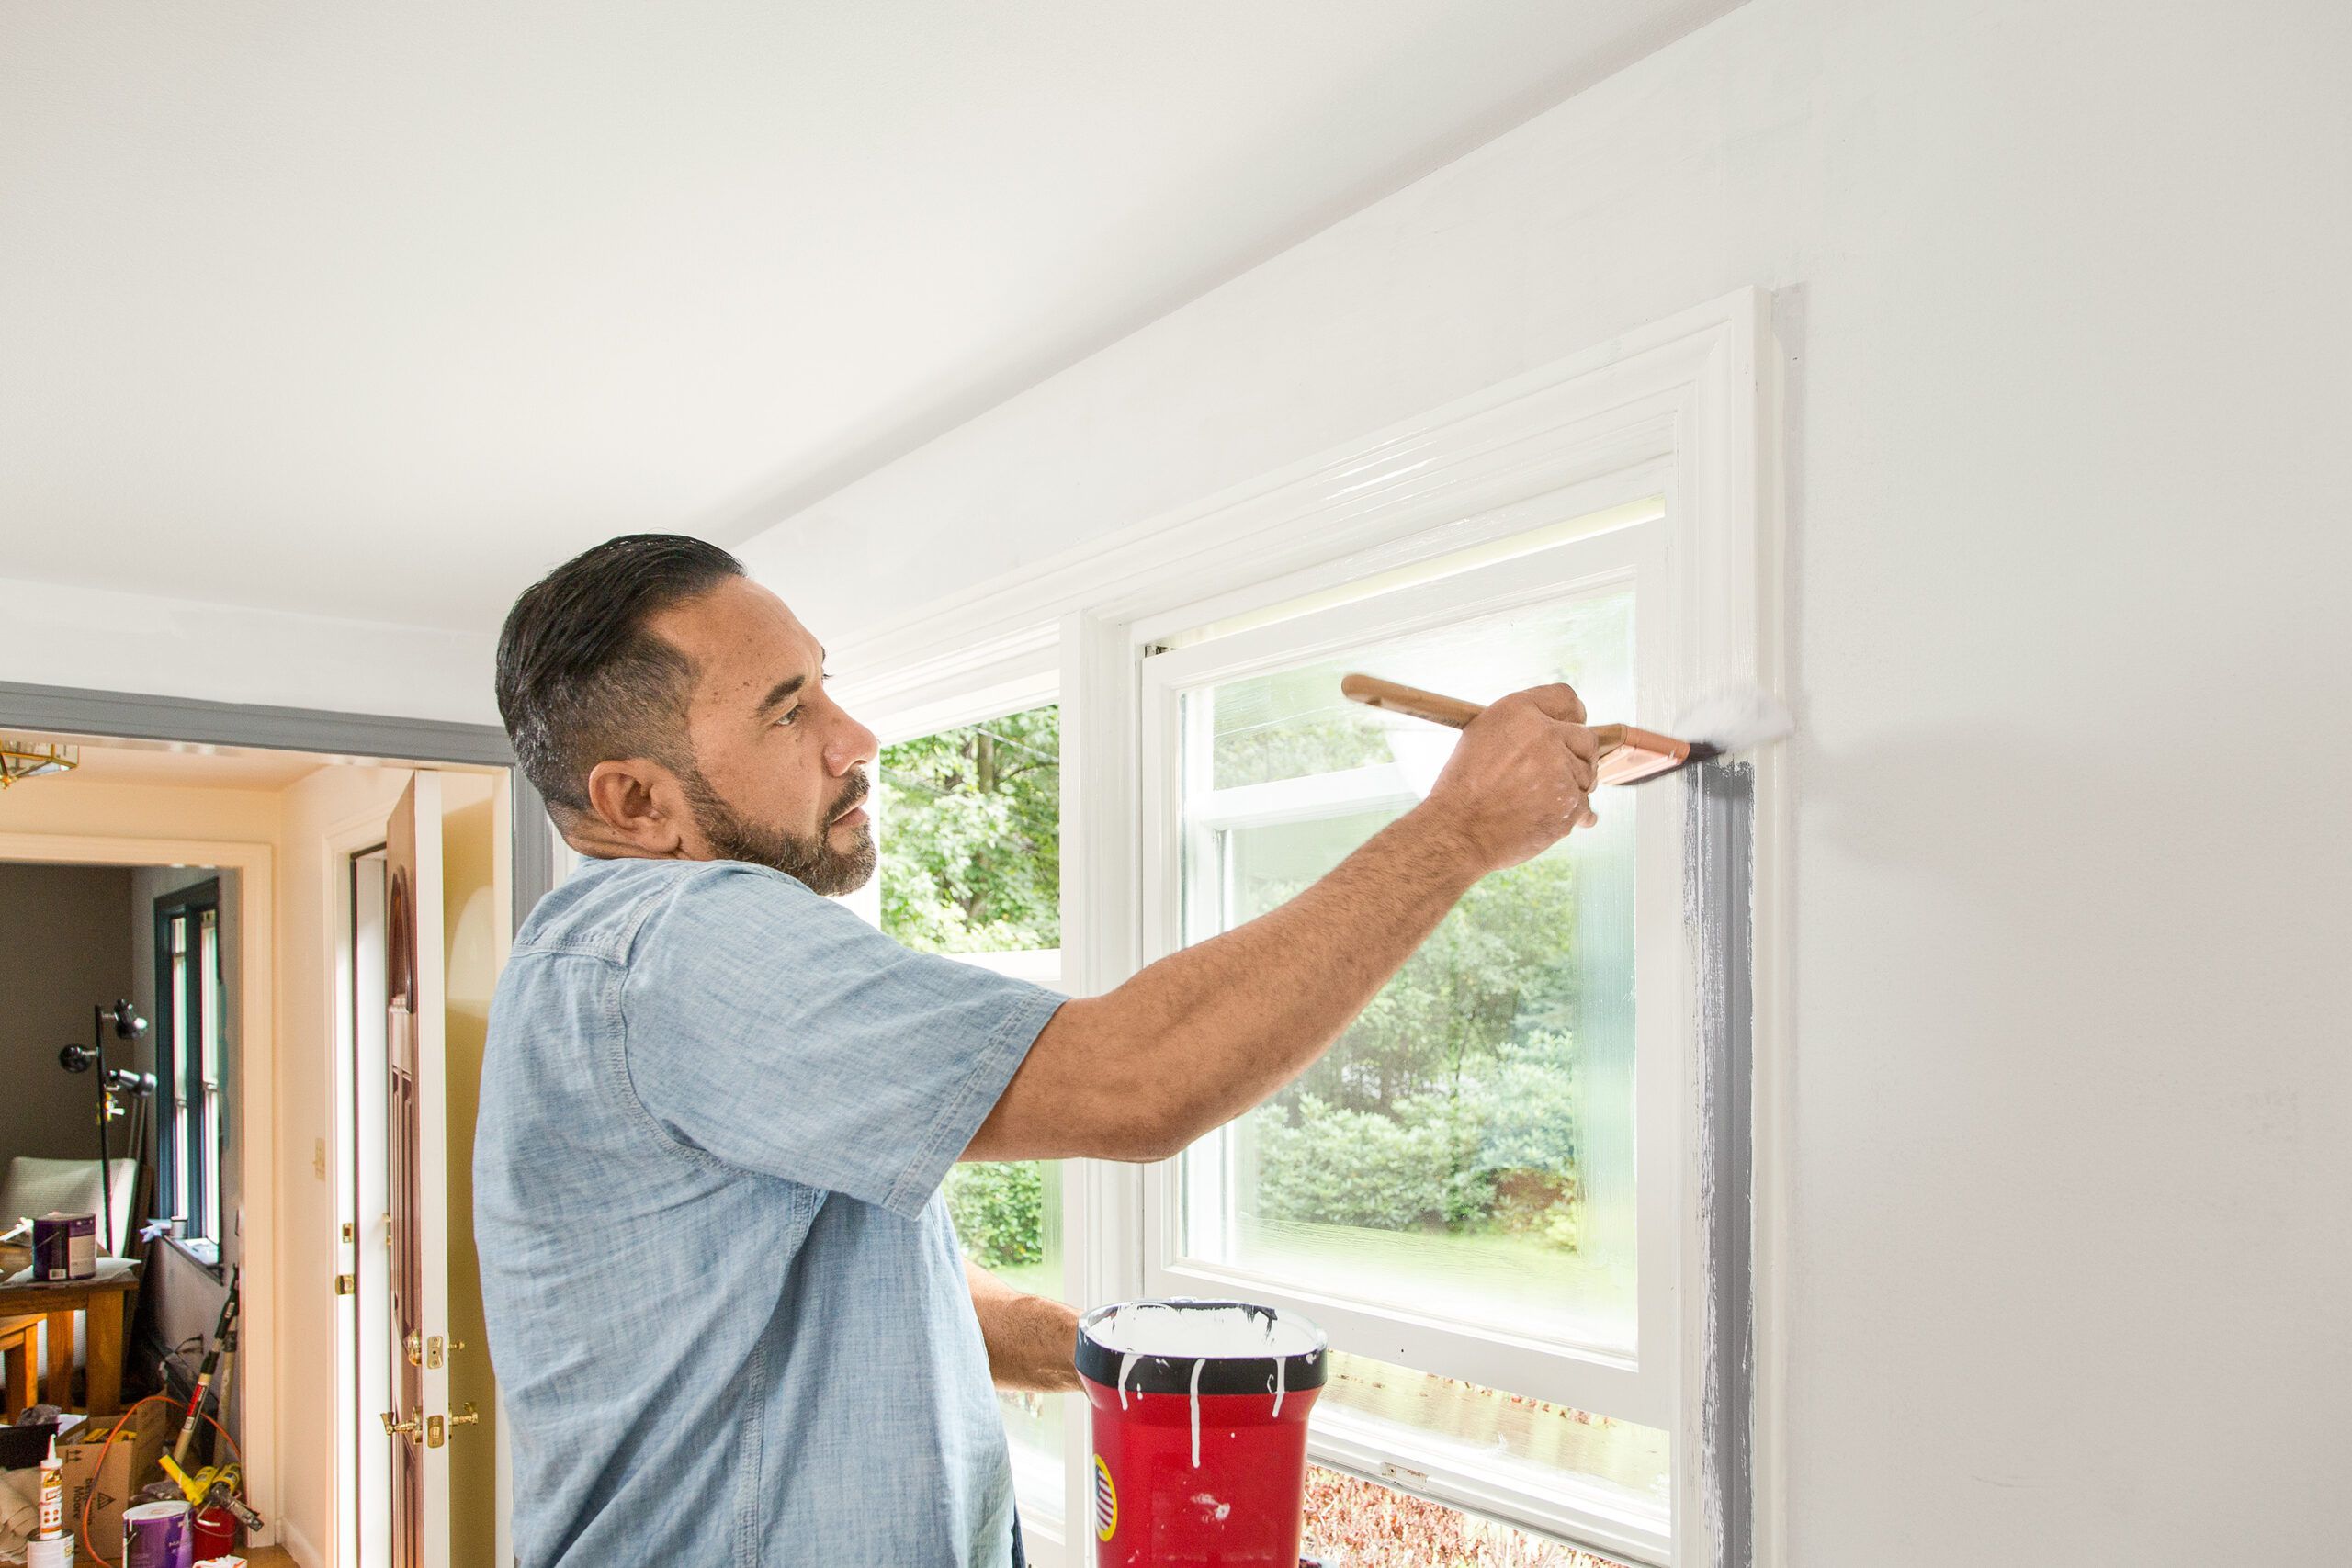
- One popular technique is called cutting in, which involves using a brush to create clean lines along the edges of the walls, around windows, and near corners. This technique can be time-consuming but is crucial for achieving a polished result.
- In addition to cutting in, it’s important to consider the type of paint roller you use. For textured walls, a roller with longer nap (the thickness of the fibers) will help ensure even coverage. On the other hand, smoother surfaces may require shorter nap rollers for an even coat without leaving excess texture.
- Lastly, consider investing in high-quality paint brushes and rollers. While they may cost more upfront, they tend to deliver better results by holding more paint and providing smoother strokes. Remember to clean your brushes thoroughly after each use so that they last longer and maintain their quality over time.
By employing these techniques and following these tips throughout your painting project, you’ll be well on your way to achieving professional-looking results that transform your space into something truly special. With the right approach and some expert tips for Minneapolis paintings, transforming your room into a stunning masterpiece is easier than you think.
Painting The Closet And Window Frames
When it comes to painting a room, many people focus solely on the walls and overlook the importance of painting the closet and window frames. However, these small details can make a big impact on the overall look and feel of your space. Painting the closet in a contrasting color can add depth and dimension to your room while painting the window frames can help tie everything together.
For the closet, consider using a bold color that complements or contrasts with your wall color. This will make the closet stand out as a design feature rather than just functional storage. It’s also an opportunity to get creative – you could use stencils or masking tape to create patterns or stripes on the doors for added interest.
As for the window frames, choosing a paint color that matches your trim or molding will create a cohesive look throughout your space. If you want to add some visual interest, consider opting for a slightly darker or lighter shade than what is used on the walls. This subtle contrast will draw attention to your windows without overpowering them.
Conclusion:
Finally, after all your hard work and dedication, you can now sit back and bask in the glory of your freshly painted room. The transformation is truly remarkable, as the once dull and lifeless walls have now been infused with color and vitality. Every brushstroke was worth it; every effort put into preparing the surface and choosing the perfect shade has paid off.
But it’s not just the physical change that makes this project so rewarding; it’s also the sense of accomplishment you feel. By taking on this task yourself, you have proven that you are capable of turning a vision into reality. You have discovered new skills and talents, and perhaps even unlocked a passion for home improvement projects. This transformed room is not just a space; it’s a reflection of your creativity, determination, and ability to bring beauty into your surroundings.
Now, take a moment to appreciate all the details that make this room special—the way the light dances across the newly painted walls, enhancing every corner of the space; how each stroke has captured your unique style and personality. This room is now an extension of who you are—a place where you can relax, create, or find solace when needed. So go ahead—light a scented candle, play some soothing music—and enjoy this newfound sanctuary within your home. You’ve earned it!


Be First to Comment